Get started with Angular
(Please let me know if you find any errors or omissions in the document —Upsorn Praphamontripong, 17-May-2022)
Set up Node.js
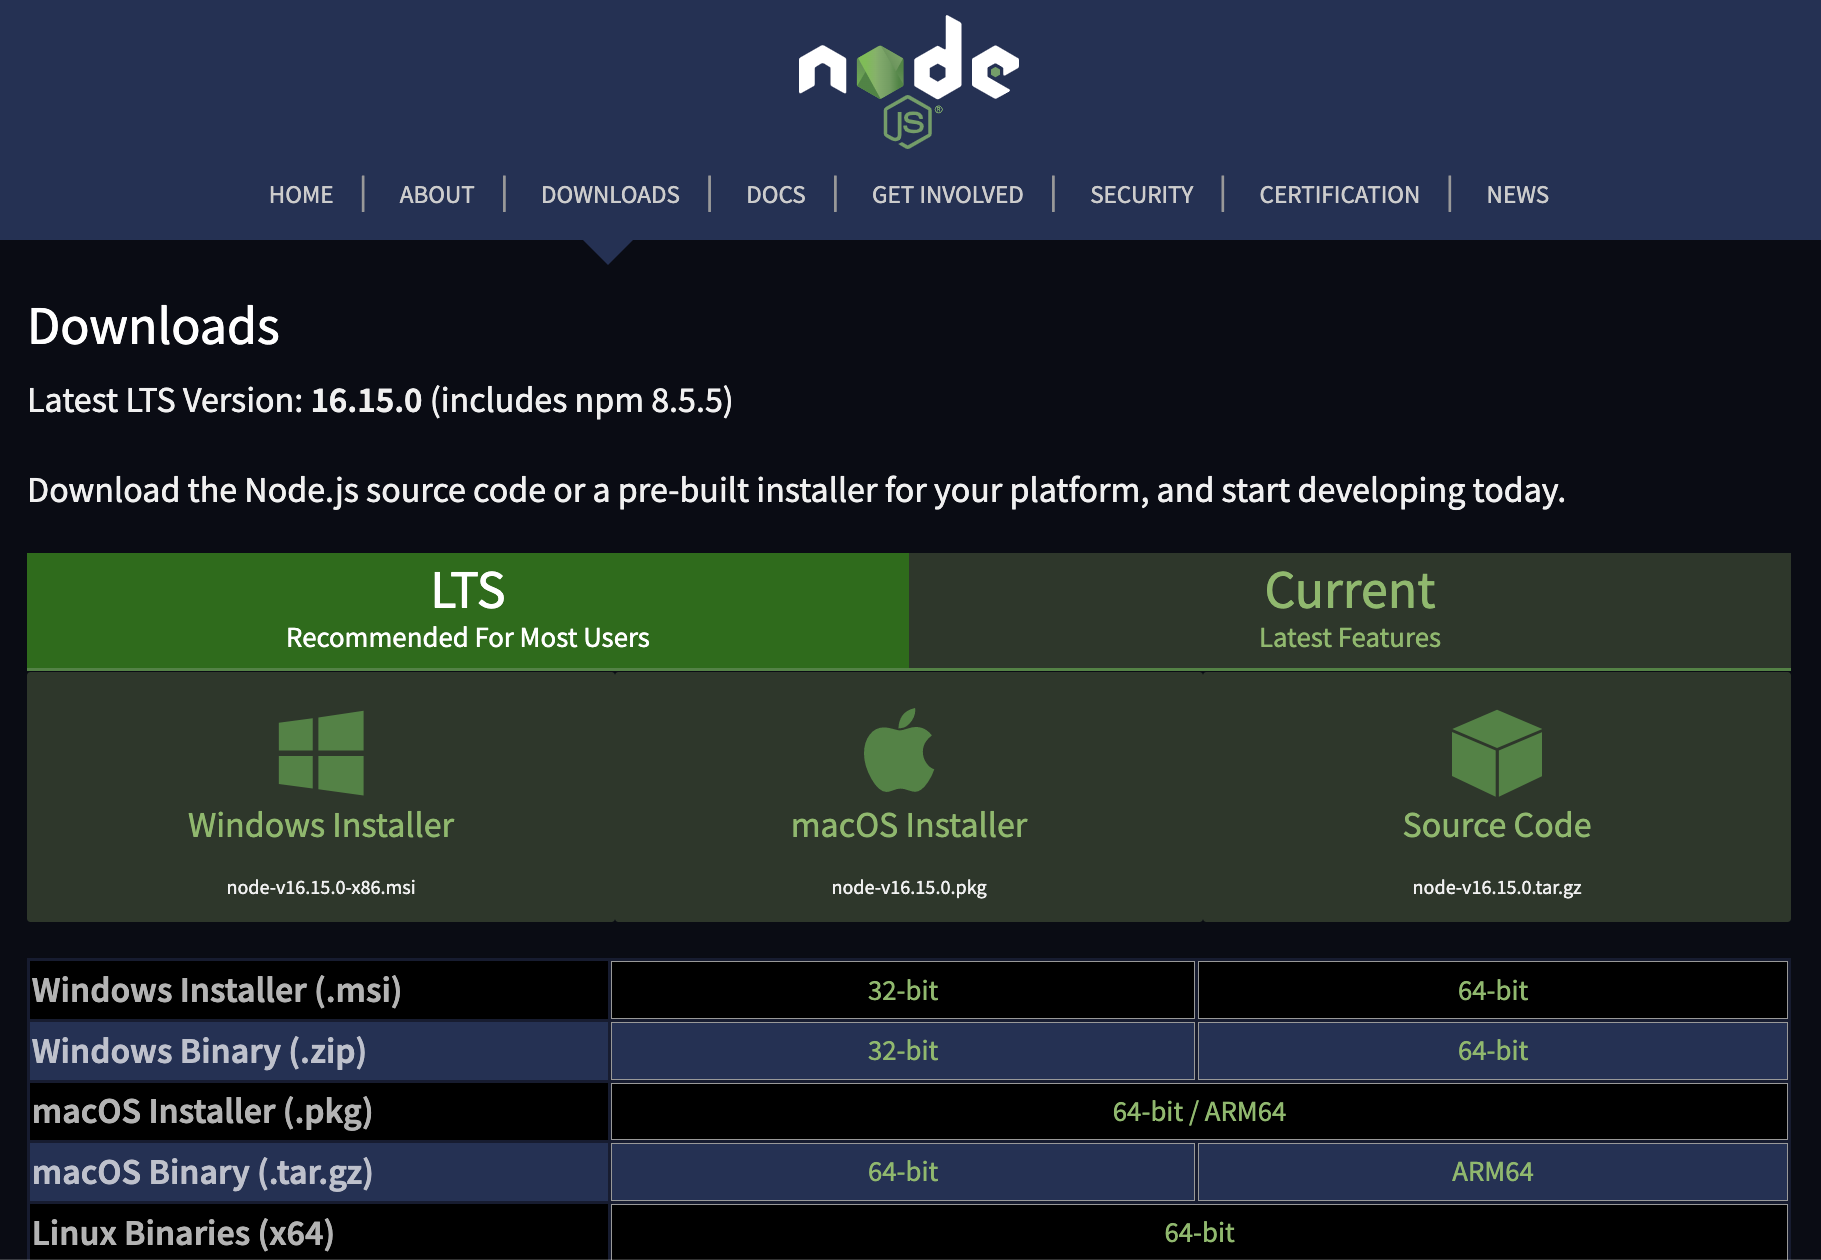
- The best way to install Node.js is to
install it directly from the Node.js website.
You are recommended to download the Latest LTS Version
from https://nodejs.org/en/download/.
Then, open the downloaded file to install Node.js
Note: This introduction uses Angular 13, which requires Node.js version 14.15.0 or higher. If you use other versions of Angular, please refer to the Angular's official website for details on features and syntax. .
Alternatively, for Mac users, you may use a terminal and then run the following command (not recommended as it is known to cause some issues).
brew install node - Verify the installed versions, using a terminal, and type
node -v[if installed correctly, you should see the version of Node.js you installed]The Node Package Manager (npm) is installed as a part of Node.js. To check if npm is available, use a terminal and type
npm -v[if installed correctly, you should see the version of npm you installed]If the npm version number is not displayed and/or an error occurs, make sure to download a Node.js installer that includes npm. Your npm version should be 6.9.0 or higher.
If you already have node.js on your machine,
you may update all packages to a new major version by running the following command to
install the npm-check-updates package.
npm install -g npm-check-updatesInstall Angular
The following describes steps needed to install Angular, assuming that no previous version of Angular is available on your machine. If you already have a previous version of Angular on your machine, you may refer to Angular update guide to update to the new version.
- Use a terminal, run the following command line
npm install -g @angular/cli
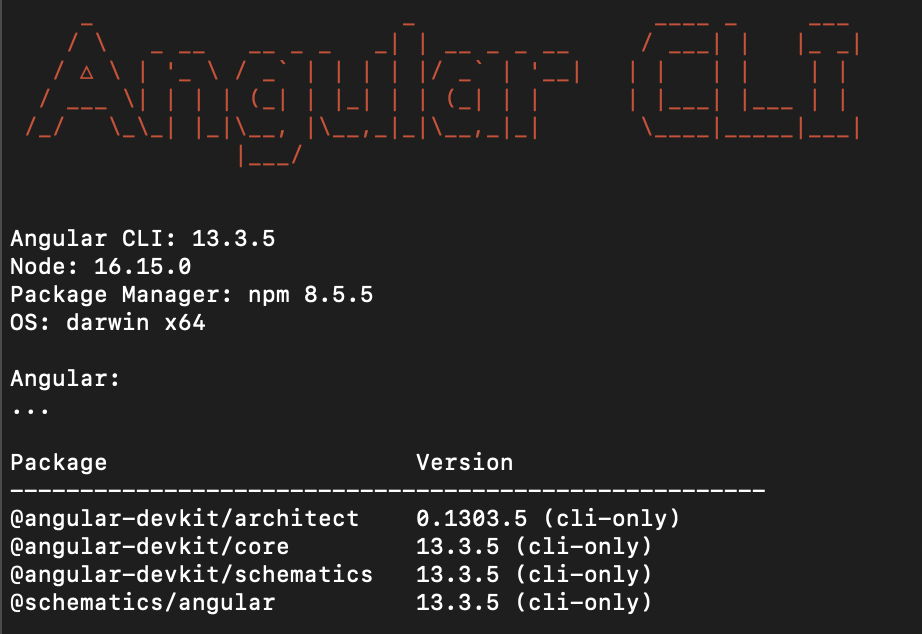
- Verify that the ng command works as expected by running
ng --version[you should see a screen similar to the following — showing Angular CLI with versions]
Some troubleshooting
If running ng --version results in a message "bash /usr/bin/ng: No such file or directory in Angular",
it is possible that you install Angular (running the npm install -g @angular/cli command) with root.
Try to remove angular-cli and then reinstall
sudo npm remove -g @angular/cli sudo npm install -g @angular/cli
If the ng command still cannot be found, try setting alias.
Be sure to use the correct path where your ng is installed
(the paths where the ng is installed can be found when running
the sudo npm install -g @angular/cli command).
Angular is written in and makes use of TypeScript (which is a superset of JavaScript that adds types). To get the biggest benefit from TypeScript, you are recommended to use a code editor that support TypeScript. There are TypeScript plugins for most editors. Visual Studio Code (free and open source editor by Microsoft, which is the company behind TypeScript) appears to be the most commonly used editor for this purpose. Alternatively, PhpStorm also works well with Angular and TypeScript.
Do you have to use TypeScript? No. Although Angular is written in TypeScript, you do not have to use TypeScript to use Angular. Due to the time constraint, we are not going to talk about TypeScript in depth in this course. For more information, please refer to https://www.typescriptlang.org/.
First Angular program
- Create a new Angular app
Use a terminal, navigate the the workspace directory where you want to work on the app.- Create a directory
mkdir cs4640-angular - Go inside the directory
cd cs4640-angular - Use an
ng newcommand to create a folder with the app name
ng new angular-example - Configure dependencies by answering
Yif you plan to use a routing module;Notherwise. - Select CSS for the stylesheet format (if applicable)
Some troubleshooting:
If runningng new angular-exampleresults in "the schematic workflow failed" error, it is possible that your system did not install npm properly because some libraries may be missing. As a result, your system has corrupted the npm and node module. Try running the following steps:npm cache clean --forceto clean the npm memorynpm uninstall -g @angular/clito uninstall Angular, thennpm install –g @angular/cliornpm install –g @angular/cli@latestto install Angular.
- Create a directory
- Start the server
- Use a terminal, navigate to the workspace directory
cd angular-example - Start the development / deployment server
ng serve
This command will compiles and builds all files, and then starts the server.
Some troubleshooting
If you get the message "Port 4200 is already in use. Use '--port' to specify a different port", this means that you already have another service running on port 4200. If this is the case you can either
- Shut down the other service, or
- Use the
--portflag when runningng serveto change the port:
ng serve --port 9001
As a result, the URL will behttp://localhost:9001
Note that, on some machines, the domain
localhostmay not work. When you runng serve, you may see an IP address or a URL the server is running on. Be sure to read the messages on your machine to find your exact development URL. - Use a terminal, navigate to the workspace directory
- Access the app
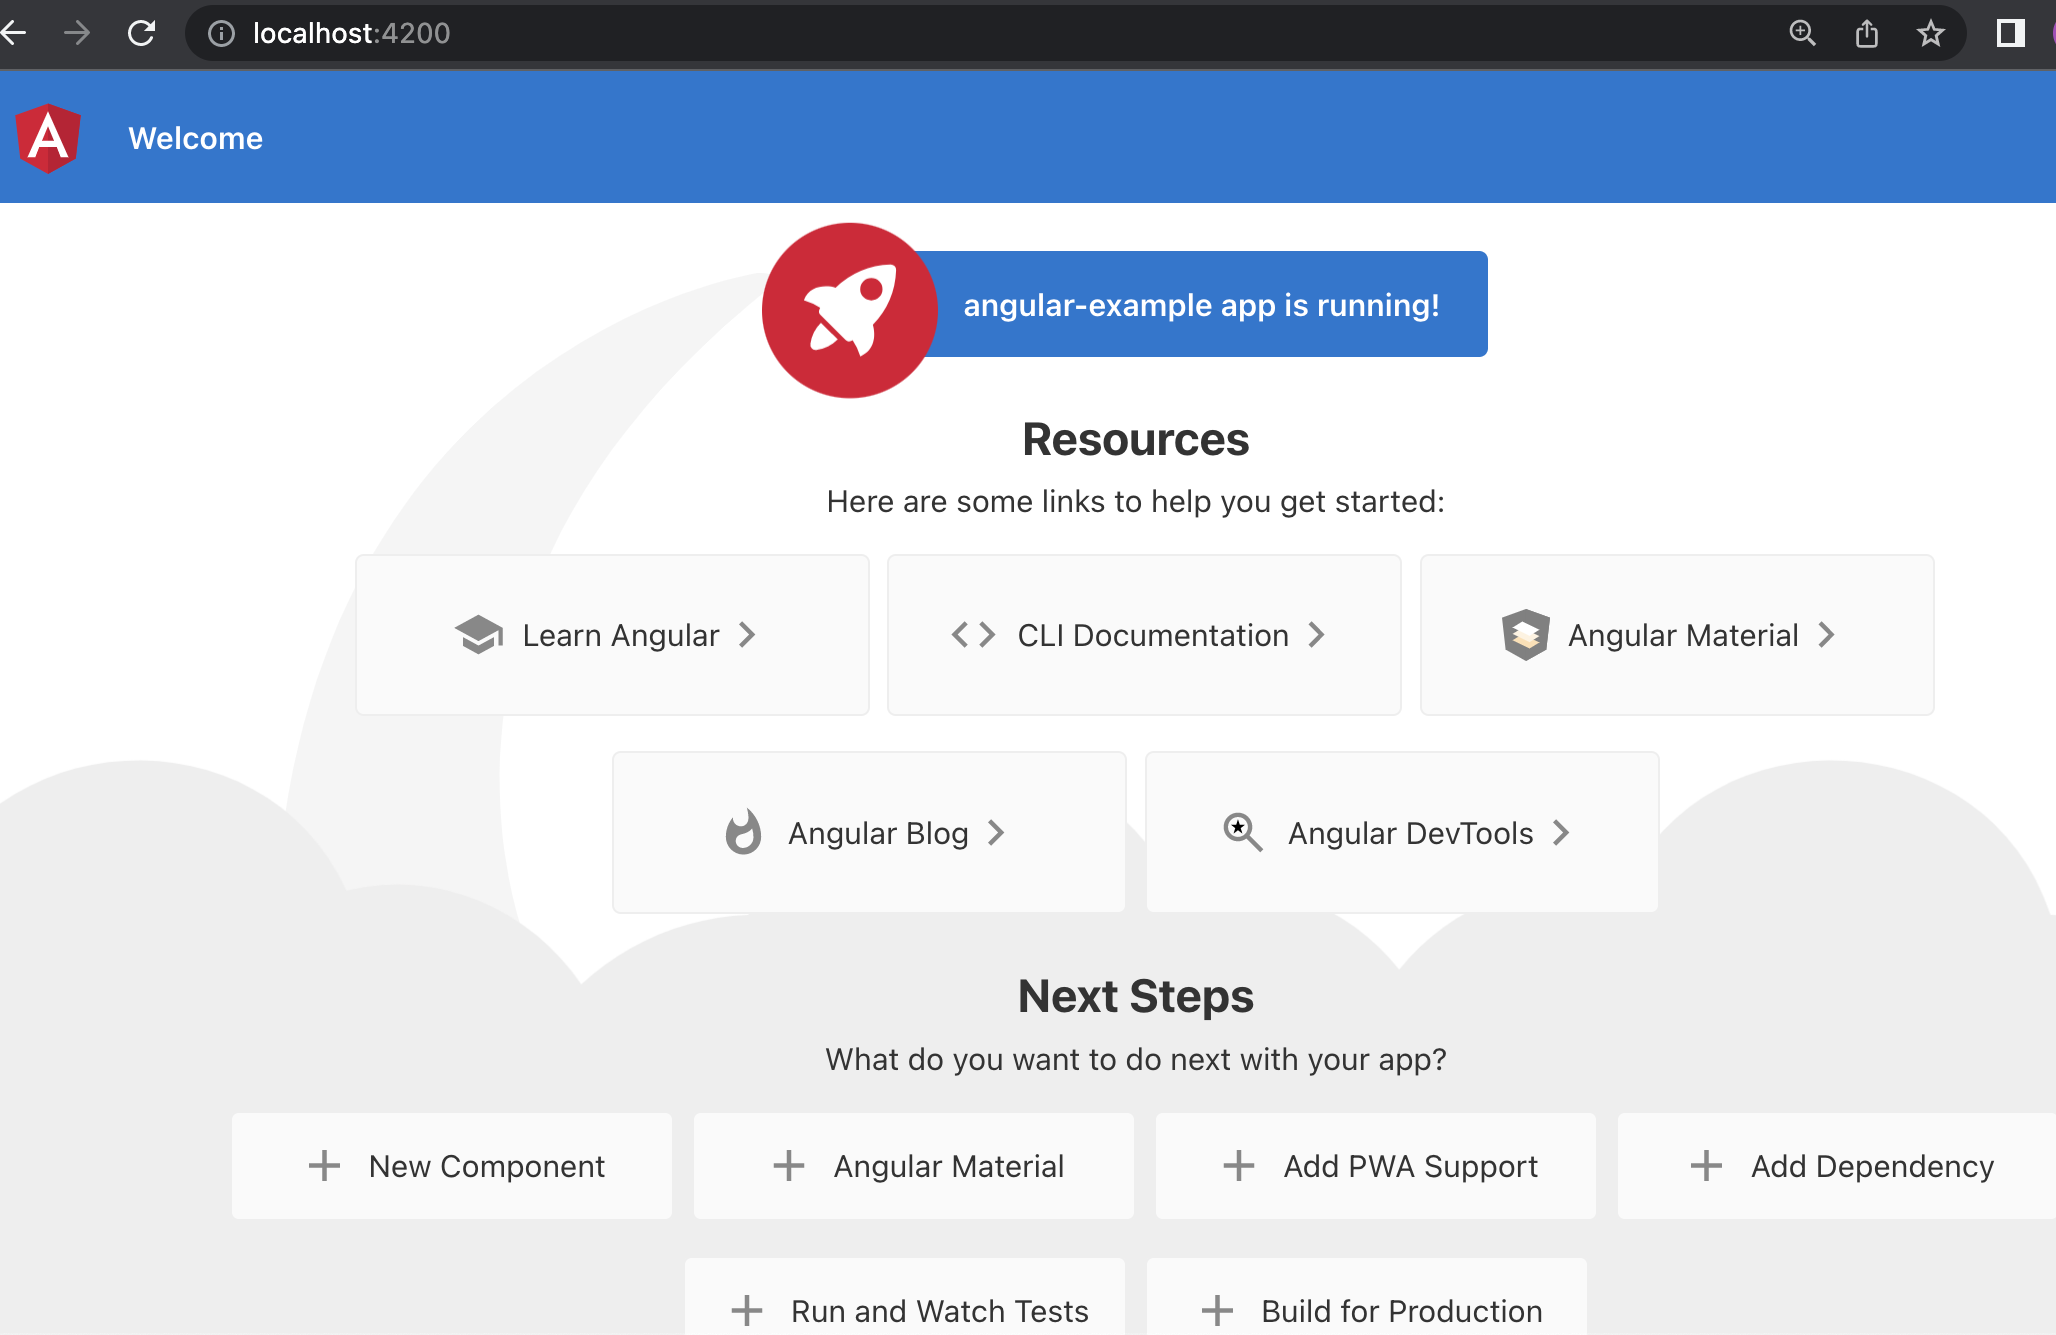
- Open a web browser, enter a URL
http://localhost:4200
Note: node.js server runs on port 4200, by default.
You should see a screen similar to the following
- Open a web browser, enter a URL
- To shutdown the server
- Use a terminal, press keyboard
Ctrl+c
- Use a terminal, press keyboard
 CC-BY-NC-SA 4.0